
 There are as many recipes for chicken soup as there are shoes that I could come up with a justification for owning. Maybe more. Just like there is no "I'll never need to buy another pair of silver stilettos because these are so perfect" pair of shoes, there is no be all, end all chicken soup recipe.
It's a good thing because, as with shoes, we all like a little variety.
I'm sure I've told you about my mother's chicken soup. But just to refresh your memory, my mother made a chicken soup that was akin to dish water. The chicken kind of tip toed its way through the hot water leaving more of an "essence" of chicken than an actual chicken taste. Back then, I'm sure I thought it was quite delicious, but I now know that color equals flavor.
The color lesson was not an easy one to learn. I never thought much about the browning step in recipes. I did it because I'm basically a direction oriented person, but it was a cursory browning at best. In fact, it wasn't until I became an avid watcher of The Food Network that I realized why it was important to sear and brown. Color equals flavor. I'm a slow learner.
Unfortunately for me, I never applied the browning lesson to chicken soup until the other day. Yes, the other day. One of my favorite blogs, Smitten Kitchen, had a recipe for chicken soup that called for browning the onions and the chicken pieces before adding the water. Who would have thunk it?
Well, apparently Smitten Kitchen, because there it was: brown the onions and then brown the chicken.
Wow.


What resulted was the richest, most flavorful chicken soup I have ever made or tasted, for that matter. The recipe calls for very few ingredients and really relies on the chicken, yes the chicken, for it's flavor. Diced carrots, parsnips, and celery are added at the end and simmered in the soup, along with egg noodles or any other starch you like.
This is an award winner.
As I said: color equals flavor.
Recipe: Chicken Noodle Soup
(Smitten Kitchen)
Serves 4
Ingredients:
1 tablespoon vegetable oil
1 large onion, chopped
3-pound chicken, in parts or 3 pounds chicken pieces of your choice
8 cups water
1 bay leaf
2 teaspoons table salt
Freshly ground black pepper
1 large carrot, diced (1/3-inch)
1 medium parsnip, diced (1/3-inch) (optional)
1 large celery stalk, diced (1/3-inch)
3 ounces dried egg noodles, I prefer wide ones
1 tablespoon chopped fresh dill or flat-leaf parsley
Directions:
Prepare broth: In a large (5-quart) heavy pot over medium-high heat, heat the vegetable oil. Add the onion and saute it for 3 to 4 minutes, until beginning to take on color at edges. Add the chicken pieces (if too crowded, can do this in two batches), making little wells in the onions so that the parts can touch the bottom of the pan directly. Cook chicken parts until lightly browned, about 10 minutes.
Add water, bay leaf, table salt and some freshly ground black pepper and bring the mixture to a boil. Reduce the heat to a simmer and skim any (sorry for lack of better term) scum that appears at the surface of the pot. Simmer pot gently, partially covered, for 20 minutes.
Transfer chicken parts to a plate to cool a bit before handling. Set a fine-mesh strainer over a bowl (ideally, with a spout) and pour soup through it.
If your pot looks grimy and you’re fanatical about having a clear soup, you can give it a quick wash before returning the broth to the pot. You can remove a bit of fat at this point, if it looks necessary. Bring the broth back to a simmer.
You may be tempted at this point to taste it and add more salt. I know this because I do it every single time, adding another teaspoon, and every. single. time. I regret this as it is too salty in the end. So, proceed with any re-seasoning with caution.
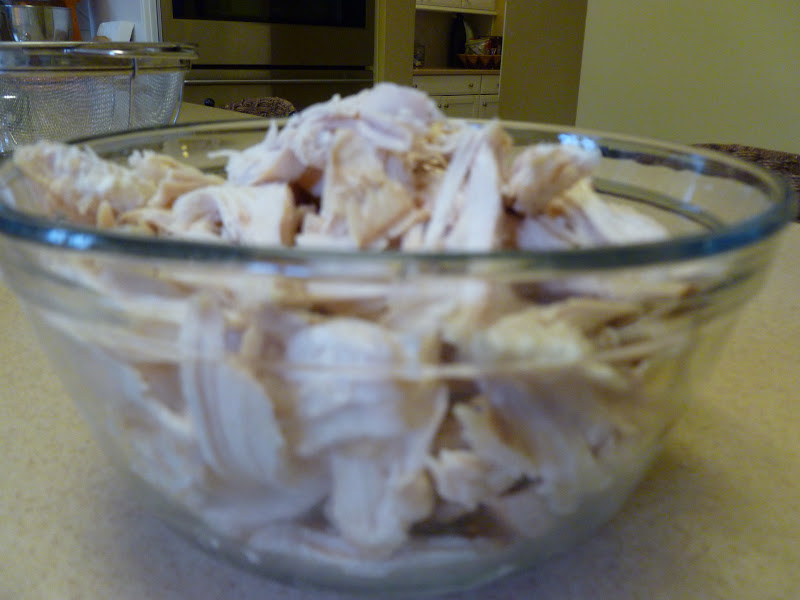
To finish and serve: Add diced vegetables and simmer them until they’re firm-tender, about 5 minutes. Add dried noodles and cook them according to package directions, usually 6 to 9 minutes. While these simmer, remove the skin and chop the flesh from a couple pieces of chicken, only what you’re going to use. You won’t need all of it in the soup. I usually use the breasts first because they’re my least favorite and benefit the most from the extra moisture of the soup. The remaining parts can be slipped into an airtight bag in the fridge (I recommend leaving the skin on for retained moisture until needed) and used for chicken salad or the like over the next few days.
Once noodles have cooked, add chicken pieces just until they have rewarmed through (30 seconds) and ladle into serving bowls. Garnish with dill or parsley, dig in and let it fix everything that went wrong with your day.
Do ahead: If planning ahead, the point where you strain your chicken broth is a great place to pause. Refrigerate the chicken broth until the next day. Before heating it and finishing the recipe, you can easily remove any solidified fat from the surface for a virtually fat-free soup. Then, you can cook the vegetables and noodles to order, adding the chicken only so that it can rewarm (and not overcook!). If making the broth more than a day in advance, you might as well freeze it. I recommend freezer bags with as much air as possible pressed out. Freezing the bags flat will make it easier to stack and store with other frozen soups, and the bag will only require a short soak in warm water to defrost.

No comments:
Post a Comment