01 09 10

search you little tarte

Friday, February 15, 2013

Justice Prevails


Back in December, I got a parking ticket.  I've gotten a lot of parking tickets in my time, most of them warranted, but this time I was actually in the right.  Or at least, I was mostly in the right.

First a little background.  A couple of months ago, Pittsburgh instituted the use of these very annoying parking kiosks.  I hate these things.  You have the input your license plate number and I can never remember mine.  It's also been cold, and standing out in the wind and snow any longer than is absolutely essential is not something I want to do.  But, because Ted gets very testy about parking tickets (You know Nadine, by not putting $.50 in the meter, you cost us $25),  I feel fiscally obligated to pay the kiosk, regardless of how unpleasant the weather makes it.


Now here's what happened.  I transposed two numbers from my license plate -- and it was clear that's what I did -- and the mean, nasty cop gave me a ticket.  Come On.  I was standing right there as he wrote the ticket and showed him my mistake.  As he was writing the ticket, he actually looked gleeful.  The big, giant gotcha.

Well, anyone who knows me knows that I am not a gotcha kind of gal, and I decided to haul myself down to the Pittsburgh Parking Court and plead my case.  Not surprisingly, when I presented my very compelling case to the judge, she threw out my ticket.

Justice prevails.  Gotcha Mr. Meter Maid.

This recipe has absolutely nothing to do with parking tickets or the parking justice system.  It just so happens that I made them when I got home.  They're celebratory -- that is, if granola bars can be celebratory.

Recipe:  Cranberry Almond Granola Bars
Loosely adapted from The Smitten Kitchen Cookbook, by Deb Perelman

Ingredients:


1 cup dried cranberries
1-1/4 cups rolled oats
3 Tbsp. whole wheat flour
1/3 cup wheat germ
1/2 cup thinly sliced almonds
1/2 tsp. kosher salt
1/4 tsp. ground cinnamon
1/4 cup almond butter
1/4 cup olive oil
1/4 cup honey
1/4 tsp. freshly grated orange zest
1/4 tsp. almond extract

Directions:

Preheat the oven to 350.  Line an 8×8 baking dish in one direction with parchment paper, allowing the paper to go up the opposing side. Repeat in the opposite direction (this makes it easy to remove the bars from the pan in one piece).

In a large bowl, stir together the dates, oats, flour, wheat germ, almonds, salt, and cinnamon. In a separate bowl, whisk together the almond butter, olive oil, honey, orange zest, and almond extract until smooth. Pour the wet ingredients over the dry, stirring together until the dry ingredients are evenly coated. Spread the batter in the prepared pan, pressing the mixture firmly into the bottom, edges, and corners.

Bake the bars for 20-25 minutes, until they’re brown around the edges. They’ll still seem a bit soft if you press the center (they will set as they cool).

Place the pan over a cooling rack, or in the fridge. If cooling at room temp, you can remove the bars from the pan after about 20-30 minutes, using the pachment “sling” and set them on the rack to cool completely. Once completley cooled, use a serrated knife to cut the bars into squares. (If the bars seem too crumbly to cut, chill them further in the fridge, and then cut them cold.)

Bars can be stored in an airtight container, in the fridge, or frozen.



Monday, February 4, 2013

Waste Not, Want Not


Kate was home sick on Friday.  She's always been one of whose kids who, when she gets a cold, she's down for the court for days.  Other kids seem to regenerate quickly, with just a day of bed rest.  That would not be my Kate.  Ever since she was a little girl, if she got a cold, we knew she would be oozing illness for at least a week.

So, here we were, Day 2 of The Cold.  She had battled through it at school on Thursday, but Friday there was illness seeping from every pore of her body so she stayed home.  I made her homemade chicken soup, because in our house there's no Campbell's, especially when you're sick.  But since I was hanging around, I had some time in the kitchen I hadn't counted on.

I've always been a big fan of quick breads.  They're quick and I like that.  I can also delude myself into believing that they're a bread and not a cake.  Same with muffins.  Those are muffins not little mini cakes.

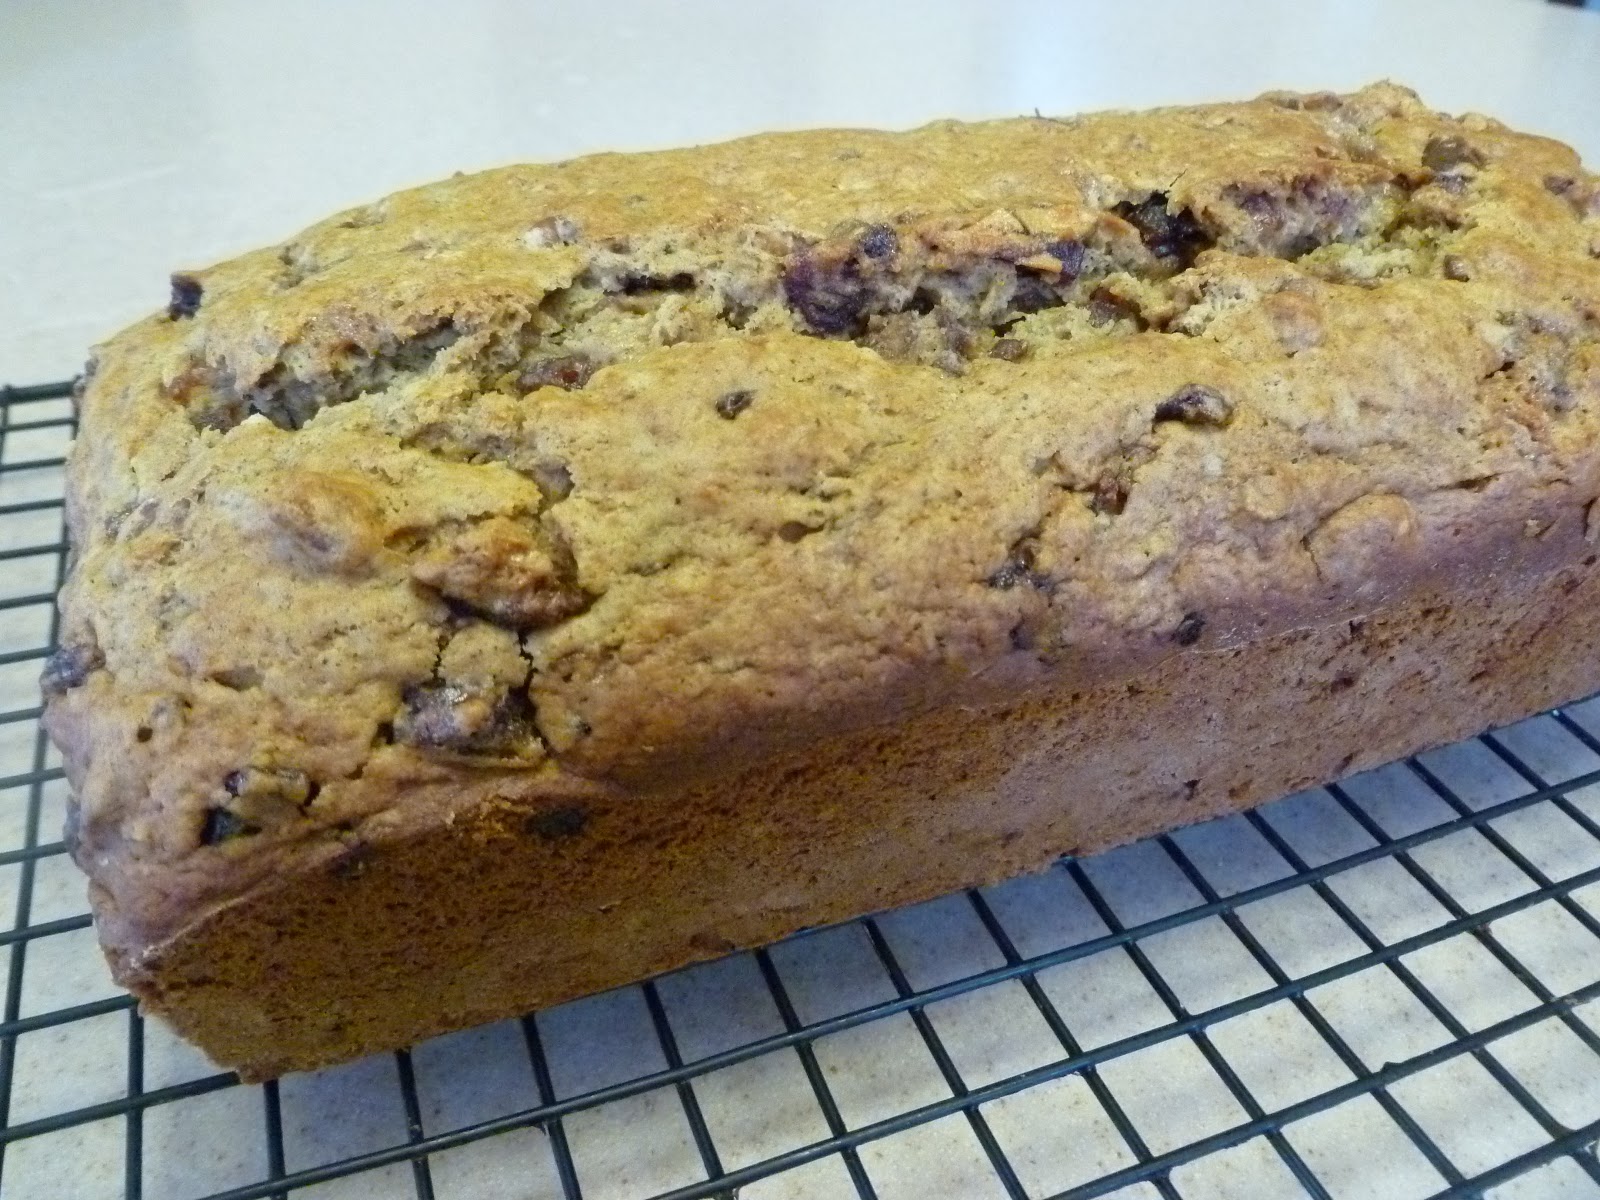
But back to the quick bread.  I had been meaning to try Ina's Date Nut Spice Bread.  I had everything I needing right in the pantry.  Obviously, I had been planning this for some time because why else would I have had chopped dates at the ready?  I had no excuse and lots of time.


This is a very easy recipe and it produces a really lovely loaf.  It's moist and has just a hint of orange, from the zest and the Cointreau.  The orange really offsets the dates nicely and the nuts give the whole thing a pleasing crunch.

I was quite pleased with my efforts and brought a piece up to Kate, who promptly announced that she didn't like date nut bread, probably because she doesn't like dates in things.  Not to worry.  I ate it myself.  After all, it would have been a crime for it to go to waste.

Recipe:  Date Nut Spice Bread
(Barefoot Contessa Back to Basics, 2008)

Ingredients:

2 cups coarsely chopped dates (10 ounces pitted)
1/3 cup orange liqueur (recommended: Cointreau or Triple Sec)
4 tablespoons (1/2 stick) unsalted butter, at room temperature
3/4 cup light brown sugar, lightly packed
1 extra-large egg
1 teaspoon pure vanilla extract
1 tablespoon grated orange zest (2 oranges)
2 cups all-purpose flour
2 teaspoons baking powder
1/2 teaspoon baking soda
1 teaspoon ground cinnamon
1 teaspoon ground nutmeg
1/4 teaspoon ground cloves
1 teaspoon kosher salt
3/4 cup freshly squeezed orange juice (3 oranges)
3/4 cup coarsely chopped pecans (3 ounces)

Directions:

Preheat the oven to 350 degrees F. Butter the bottom of an 8 1/2 by 4 1/2 by 2 1/2-inch loaf pan. Line the bottom with parchment paper, then butter and flour the pan.

Combine the dates and orange liqueur in a small bowl and set aside for 30 minutes. Stir occasionally.

In the bowl of an electric mixer fitted with the paddle attachment, beat the butter and brown sugar together on medium speed for 1 minute. Scrape down the bowl. With the mixer on low, add the egg, vanilla, and orange zest. Sift together the flour, baking powder, baking soda, cinnamon, nutmeg, cloves, and salt. With the mixer still on low, add the flour mixture alternately with the orange juice to the creamed mixture, beating only until combined. By hand, stir in the dates with their liquid, and the pecans.

Pour the batter into the prepared loaf pan and smooth the top. Bake for 50 to 60 minutes, until a toothpick comes out clean. Cool in the pan for 10 minutes, then turn out onto a wire rack and cool completely.

Slice the bread and serve with  cream cheese and/or jam on the side for spreading.

Sunday, January 27, 2013

Empty No More


Everyone has their thing (or things) that bug them.  Some people can't stand mess.  Others can't stand too much tidiness.  Everyone has their thing.

For me, I hate an empty cookie jar.  It's depressing.  It just seems so wrong to have a nice jar standing empty, when it should be filled with delicious treats.  Maybe it harkens back to when my kids were little, and the cookie jar was my big bribe for following directions or behaving well.  (Yes, I was one of those mothers who bribed with food.  So shoot me.)  Who knows why, but the need to have a full cookie jar has stuck.

It would be easy enough to always have cookies on hand if I was one of those people who bought cookies at the market or the bakery.  But alas, I am not.  I am a baker and my kids have, for the most part,  grown up on homemade cookies, with the occasional exception of Oreos and Mint Milanos.

The funny thing is that they've never been annoyed by their homemade desserts.  Why, you may ask, would anyone ever be annoyed or disappointed by anything homemade?  Well, let me tell you a little story.

Back when Ted was a little kid, his mother used to bake bread.  She used this bread to make sandwiches to put into his school lunches.  This bread was crumbly, probably not very well suited to the rigors of peanut butter and jelly.  The sandwich would fall apart every time, and there were the other kids with their intact sandwiches made with Wonder Bread.

What kid wouldn't prefer a sandwich that stayed together in favor of a crumbly one?

But I digress.  We were out of cookies.   I'm not sure anyone else noticed, but it was bugging me.  I recently picked up a new cookbook put together by a mom to fund kids cancer research.  Why not give those chocolate chip cookies a try?


They came out great.  The addition of oats to the batter made the cookies a little more substantial, and their inclusion allowed me to pretend that these cookies were healthy.

And, our cookie jar is no longer empty.

Recipe:  Chocolate Chip Oatmeal Cookies

Adapted from Cookies For Kids’ Cancer Best Bake Sale Cookbook, by Gretchen Holt-Witt.
Makes 3 to 4 dozen cookies.

Ingredients:

2 sticks (226 g) unsalted butter, room temperature
1 cup (110 g) light brown sugar
1/2 cup (88 g) granulated sugar
1 large egg, room temperature
1 large egg yolk, room temperature
1 tablespoon vanilla extract
2 cups (240 g) unbleached all-purpose flour
1 cup (80 g) old-fashioned oats
1 teaspoon baking powder
1 teaspoon baking soda
1 teaspoon kosher salt
3 cups (525 g) chocolate chips (semi-sweet, or mix of white and semi-sweet)

Directions:

Place the rack in the middle of the oven and preheat to 325° F/165° C.

In the bowl of the stand mixer, beat the butter, brown sugar, and granulated sugar until smooth and creamy. Add the egg, egg yolk, and vanilla, one at a time, beating well between.

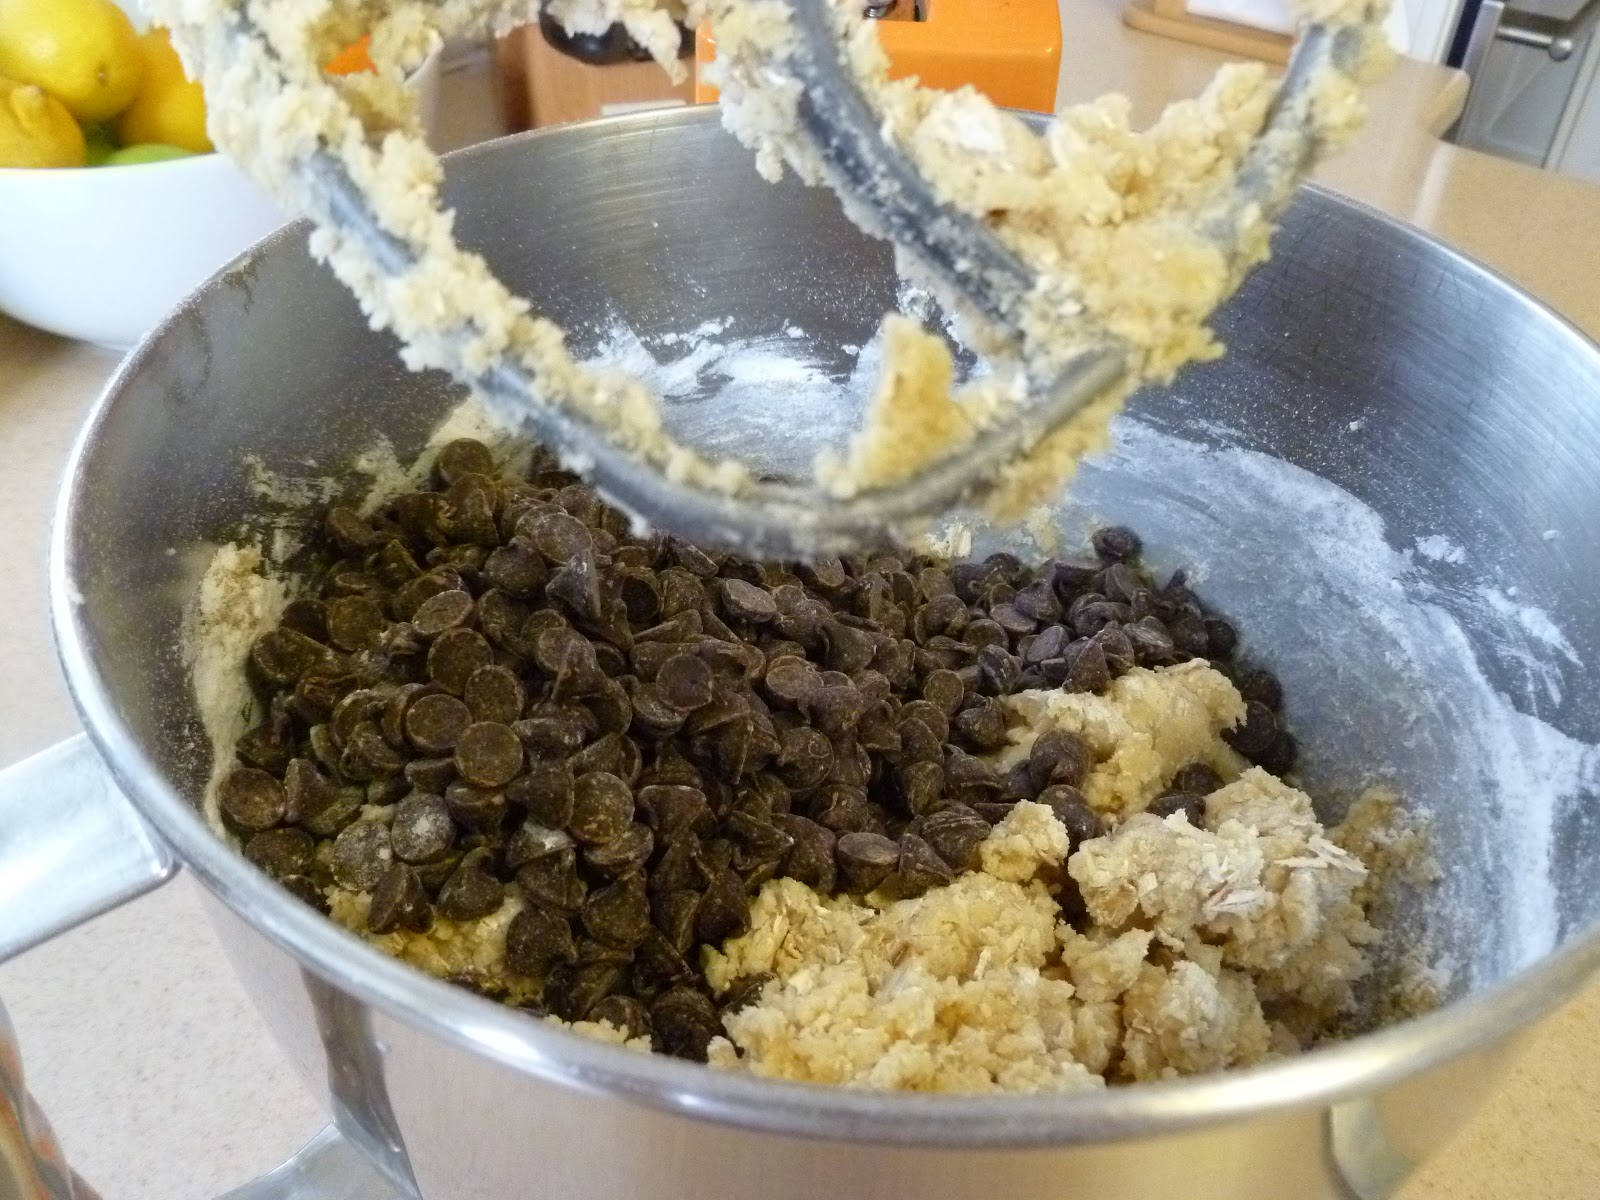
In the medium mixing bowl, whisk together the flour, oats, baking powder, baking soda, and salt. Add to the butter mixture and beat until everything is incorporated. Scrape down the sides of the bowl and mix in the chocolate chips.

Shape the dough into rounded teaspoon-size balls and place them about 2 inches apart on the prepared baking sheet, and gently press each down. Bake in the preheated oven until the cookies start to brown at the edges, about 12 to 15 minutes. Cool on the baking sheet about 5 minutes, then transfer to a wire rack to cool completely. Repeat with the remaining dough. Store in an airtight container.

Thursday, January 24, 2013

Soup and Sandwich


It's been cold here.  Really cold.  And when it's cold, there's nothing more satisfying than a bowl of soup.  At least that's what I think.

So yesterday, as I was doodling around my kitchen trying to figure out what to make for dinner, I happened across a package of already cut-up butternut squash.  Honestly, I have no recollection of buying it, but there it was in the crisper -- calling out to me.

"Make me into a nice winter squash soup", it said.

Well, butternut squash soup can't talk, but if it could, that's what it would have been saying.

I had an old Ina Garten recipe for Winter Squash Soup that I hadn't made in years, so I was ready to roll.  This soup is so easy that it's practically criminal.  It's quick too, and my new Vita Mix blender made quick work of pureeing at the end.


As nice as the soup was, it needed a little something to go with it.

In another a-ha moment, I pulled a small piece of filet out of the freezer and roasted it up.  I have to admit that I didn't have a fresh baguette hanging around, so I had to pop out to pick one up.  Honestly, I didn't mind.  There's always something I need at the market and I was getting a little case of cabin fever.  I suited up (coat, scarf, gloves) and headed out.

The cold weather was made far more bearable because I knew there was a nice hot bowl of soup waiting for me when I got home.


Recipe:  Winter Squash Soup
(Barefoot in Paris)

Ingredients:

2 tablespoons unsalted butter
1 tablespoon good olive oil
2 cups chopped yellow onions (2 onions)
1 (15 - ounce) can pumpkin puree (not pumpkin pie filling)
1 1/2 pounds butternut squash, peeled and cut in chunks
3 cups homemade chicken stock or canned broth
2 teaspoons kosher salt
1/2 teaspoon freshly ground black pepper
1 cup half - and - half
Creme fraiche, grated Gruyere, or croutons (see Note), for serving (optional)

Directions:

Heat the butter and oil in a heavy - bottomed stockpot, add the onions, and cook over medium - low heat for 10 minutes, or until translucent. Add the pumpkin puree, butternut squash, chicken stock, salt, and pepper. Cover and simmer over medium - low heat for about 20 minutes, until the butternut squash is very tender. Process the mixture through the medium blade of a food mill. Return to the pot, add the half - and - half, and heat slowly. If the soup needs more flavor, add another teaspoon of salt. Serve hot with garnishes, if desired.

Cook's Note: To serve with croutons, remove the crusts from 2 slices of white bread, cut them in 1/2-inch cubes, and saute them in 1 tablespoon of butter until browned. Season with salt and pepper.


Recipe:Truffled Fillet of Beef Sandwiches
(Barefoot Contessa Back to Basics)

Ingredients:

1 1/2 to 2 pounds fillet of beef, trimmed and tied
1 tablespoon unsalted butter, at room temperature
Kosher salt and coarsely ground black pepper
2 French baguettes, 18 to 20 inches long
3 ounces black truffle butter, at room temperature
1 (2-ounce) chunk good Parmesan cheese
Fresh baby arugula

Directions:

Preheat the oven to 500 degrees F. (Be sure your oven is very clean!)

Place the beef on a sheet pan and pat the outside dry with a paper towel. Spread the butter all over the beef with your hands. Sprinkle the beef evenly with 1 1/2 teaspoons salt and 1 1/2 teaspoons pepper. Roast for exactly 22 minutes for rare and 25 minutes for medium-rare.

Remove the beef from the oven, cover it tightly with aluminum foil, and allow it to rest at room temperature for 15 minutes. Remove the strings and slice the fillet about 1/4-inch thick.

Open the baguettes lengthwise but not all the way through. Spread the bottom halves generously with the truffle butter. Top with a layer of sliced beef and sprinkle it with salt and pepper.

Using a vegetable peeler, shave the Parmesan into thin shards and scatter the shards over the sliced beef on each sandwich. Finish with a sprinkling of arugula leaves. Fold the tops of the sandwiches over, cut each baguette diagonally in 3 or 4 sandwiches, and serve right away.


Monday, January 14, 2013

Laundry Day


Do you sometimes wonder how there can be so much laundry?  I know I do.  It's just the three of us here and it's completely unbelievable to me how much laundry we generate.  Actually it's not "we".  It's Kate.  She's a laundry making machine.

Kate loves sweatpants and sweatshirts and they take up a lot of room in the washing machine.  Everyday when she gets home from school, after changing her clothes to play tennis, she dons a fresh pair of sweatpants and a fresh sweatshirt.  This is in addition to all the other clothes she's already worn. You can imagine the laundry.

I try and stay on top of the laundry but it's impossible.  I no sooner get it all done, and the laundry basket is overflowing again.

But there's good news.

This morning I decided that if I was going to be stuck in the house doing laundry, I might as well accomplish something else as well.  I had been wanting to try this new stew recipe from Fine Cooking, but it had to cook for 3 hours in addition to the prep time.  Clearly laundry day was the perfect day to embark on such a project.


The results were delicious, although this is not a project to be undertaken lightly.  There's a fair amount of prep work, including browning the meat which takes a long time.  There's chopping, sauteing, and finally the cooking.  As I said.  This is not a "I'm in the mood for stew so I think I'll just throw this together" kind of meal.  But it is really good, and perfect for a cold winter dinner.


And it's perfect for laundry day.


Recipe:  Italian-Style Beef and Porcini Stew
Fine Cooking Magazine, December, 2012

Ingredients:

3 lb. boneless beef shoulder roast, chuck roast, or top blade, trimmed of excess fat and cut into 1-1/2- to 2-inch pieces
2 oz. thick-cut pancetta, cut into 1/2-inch pieces
1 Tbs. grapeseed oil or vegetable oil; more as needed
Kosher salt and freshly ground pepper
1 medium yellow onion, coarsely chopped (about 1 cup)
2 medium celery stalks, coarsely chopped (about 1/2 cup)
1 medium carrot, coarsely chopped (about 1/3 cup)
4 medium cloves garlic, minced
1 Tbs. tomato paste
2 oz. dried porcini mushrooms, soaked in 2-1/2 cups warm water until soft, then chopped, soaking liquid reserved and strained
1 Tbs. minced fresh rosemary
1 dried bay leaf
1 cup dry red wine
3 cups peeled pearl onions
1 28-oz. can whole tomatoes, drained and chopped (discard juice)
1/4 cup chopped fresh basil

Directions:

Position a rack in the bottom third of the oven and heat the oven to 325°F.

Spread the beef on paper towels to dry for 10 to 20 minutes before browning. (You can use this time to chop the onion, celery, and carrot). If the meat is very wet, pat it dry.

In a 6-quart Dutch oven or other heavy-duty pot, cook the pancetta in the oil over medium heat, stirring occasionally, until browned but not crisp, 6 to 8 minutes. Using a slotted spoon, transfer to a paper-towel-lined plate and set aside. Do not wipe out the pan.

Heat the pancetta fat over medium to medium-high heat until shimmering hot. Season about one-third of the beef with salt and pepper and arrange it in a single layer in the pot (there should be at least 1/2 inch of space between the pieces). Brown well on at least 4 sides, adjusting the heat as necessary; each batch should take about 10 minutes to brown. Transfer the beef to a large bowl or rimmed baking sheet as it browns and repeat with the rest of the beef, seasoning with salt and pepper before browning. Once all of the beef is browned, remove the pot from the heat to let it cool for a few minutes.

Pour all but 2 Tbs. of the fat from the pot. (If there is not enough, add oil to equal 2 Tbs.) Return the pot to medium heat, then add the yellow onion, celery, and carrot. Season with a pinch of salt and pepper, and cook, stirring often and scraping the bottom of the pot with a wooden spatula, until the vegetables begin to soften, 5 to 6 minutes. Stir in the garlic, tomato paste, soaked porcini, rosemary, and bay leaf and cook, stirring occasionally, until fragrant, 1 to 2 minutes. Return the pancetta to the pot.

Add the wine, stirring with the wooden spatula to dissolve any browned bits on the bottom of the pot. Raise the heat to medium high and boil to reduce by about half, 5 to 8 minutes. Add the reserved mushroom soaking liquid. Bring to a boil.

Return the beef to the pot along with any accumulated juice. Lower the heat to maintain a simmer.

Crumple a 12x16-inch piece of parchment, then flatten it out. (Crumpling makes for easy handling.) Place the parchment directly on the surface of the stew, allowing the ends to come up the sides of the pot. Cover and put in the oven.


After 1 hour of stewing, add the pearl onions to the pot. Cover with the parchment and lid, return to the oven. After another 30 minutes, add the tomatoes. Cover with the parchment and lid, return the pot to the oven, and cook until the beef is fork-tender.

Stir in the basil. Degrease the stew by laying a clean paper towel over the surface of the stew and gently pushing it into all the bumps and dips, then quickly peeling it off. Repeat as necessary with more paper towels. Season to taste with salt and pepper and serve.


Sunday, January 13, 2013

Splatchcocked


Splatchcocked?  Yes, splatchcocked.  It's a fancy word for a butterflied chicken and it's a great way to roast one.

I am not a great roaster.  I have trouble telling if things are cooked through.  I know, I know.  We have meat thermometers for that.  Unfortunately for me, a thermometer doesn't always mean it's cooked.  I know this from personal experience.

The beauty of the splatchcocked or butterflied chicken is that it all cooks evenly, in one layer.  It really does make the whole thing a lot easier and is oodles easier to carve.   It's all good.

And, if you're lazy like I am, you can have your butcher do the honors and remove the backbone.  If you're good at that sort of thing, just use a poultry scissor and do it yourself.  After that, just flatten the chicken out, season well, and roast away.  Easy peasy.

The best thing about cooking this is way is that you get to tell people you splatchcocked a chicken.


Recipe:  Flat Roasted Chicken with Tiny Potatoes 
(Smitten Kitchen Cookbook, 2012)

Ingredients:

1 3- to- 3½- pound (11/3- to- 1½- kg) chicken
Table salt
Freshly ground black pepper
1½ pounds (680 grams) tiny yellow potatoes, peeled
2 tablespoons (30 ml) melted butter or olive oil, for potatoes
1 lemon, to finish
1 tablespoon minced fresh thyme leaves, to finish

Directions:

Preheat your oven to 450 degrees. Using a pair of sharp kitchen shears, remove the backbone of the chicken and discard it (or freeze and save it for making stock). Season the cavity generously with salt and freshly ground black pepper. Lay the chicken, breast side up, in a roasting pan (I adore my 12- inch cast- iron skillet for this; it works best with 3- pound birds), and gently pat the breast skin dry with a paper towel. Generously season the top of the bird with more salt and freshly ground black pepper. Nestle the potatoes around the chicken, and drizzle them lightly with butter or olive oil. Sprinkle the potatoes with salt and pepper.

Roast the chicken for 30 to 45 minutes, or until a thermometer inserted into the thigh registers 165 degrees. Toss the potatoes after about 20 minutes, so that they cook evenly. When the chicken has finished cooking, transfer potatoes to a large serving platter. Remove the legs, thighs, wings, and breasts from the spatchcocked chicken, and arrange them with potatoes. Squeeze juice of entire lemon over dish, then sprinkle with thyme. Serve with simply cooked vegetables. Eat at once.


Thursday, January 10, 2013

The First Time's the Charm


I've been wanting to make biscotti for a long time.  Ted seems to recall that I made them once or twice a couple of years ago, but I have no recollection of ever doing it.  Who knows.  These days, I have trouble remembering what I had for lunch, let alone what I did "a couple of years ago".

Yesterday I had lunch with my friend Mona.  She's recently mastered the croissant.  Yes, she's that friend.  The one who's really good at things.  Anyway, we got to talking about biscotti.  Of course, Mona mastered biscotti long ago so she was able to provide me with a good recipe and a little guidance.

"The dough is very sticky.  Use lots of flour."  Point taken.


"I like to turn them over halfway through the second baking," she told me.  Needless to say, there was no way I wasn't going to follow her advice.


So, after spinning class today, (yes, I go to spinning class), I got to work on the biscotti.  I meticulously followed the instructions, which I don't always do but really is a good idea when baking, and rolled out the logs on a floured counter.  Halfway through the second baking I flipped the biscotti over.

And you know what, they came out perfectly.  I mean, really perfectly.  They're gorgeous and they taste good; a little chewy in the center and crisp around the edges.  I'm so proud.


Now, having mastered chocolate chip biscotti, the world is my oyster.  I'm going to try my hand at some other biscotti recipes.  But not before talking to Mona first.

Recipe:  Chocolate Chip Biscotti
(Sweet Maria's Italian Cookie Tray, 1997)

Note:   This recipe makes enough biscotti for an army but they keep forever.  Follow Mona's advice and use lots of flour to roll out the logs and turn the biscotti over halfway through the second baking.

Ingredients:

1/2 pound unsalted butter, softened
1/2 cup granulated sugar
1 1/4 cups brown sugar
2 teaspoons vanilla extract
6 eggs
5 1/2 cups all purpose flour
2 tablespoons baking powder
1/2 teaspoon salt
2 cups miniature semi-sweet chocolate chips
1 cup coarsely chopped walnuts (optional)

Directions:

Preheat the oven to 350F.

In an electric mixer, cream the butter and sugars.  Add the vanilla and eggs.  Mix well.

Gradually add the flour, baking powder, and salt.  Mix on low speed until just blended.  Stir in the chocolate chips and walnuts, if desired.

Turn out the dough onto a lightly floured surface.  Divide the dough into four equal pieces.  Roll each piece into a loaf about 12 inches long.  Place loaves on a parchment lined cookie sheet, spacing them 3 inches apart.  Brush the tops of the loaves with water and sprinkle with a bit of additional sugar, if desired.

Bake for 20-25 minutes, or until golden brown.  Remove the cookie sheet from the oven.

Let the loaves cool.  Place the cooled loaves on a cutting board.  Using a sharp knife, slice each loaf diagonally into 1/2-inch-wide slices.

Place slices in a single layer on the cookie sheet.  Return to the oven for 12-15 minutes, or until lightly browned.  Remove the cookie sheet from the oven.  Cool toasted biscotti on a wire cooking rack.  Store in an airtight container.

Bakes approximately 45 cookies.